• How to make your own DIY felt animal ornaments •
I grew up with a christmas tree decorated only with red vintage glass ornaments and white candle lights. My grandparents, where we would celebrate christmas every single year, live in a huge house and no one except from my grandmother would see the tree before it was revealed to us all on the night of christmas with all the candles lit.
I would be happy keeping our tree low-key and minimalistic with just a lot of lights and simple white snowflakes. However, my daughters are into the opposite. To try and accommodate their wishes, I’ve made them a few simple felt ornaments.
My idea was to give them one each on every advent Sunday, and hopefully keep doing that for many years to come. To slowly gather a collection of homemade felt ornaments.
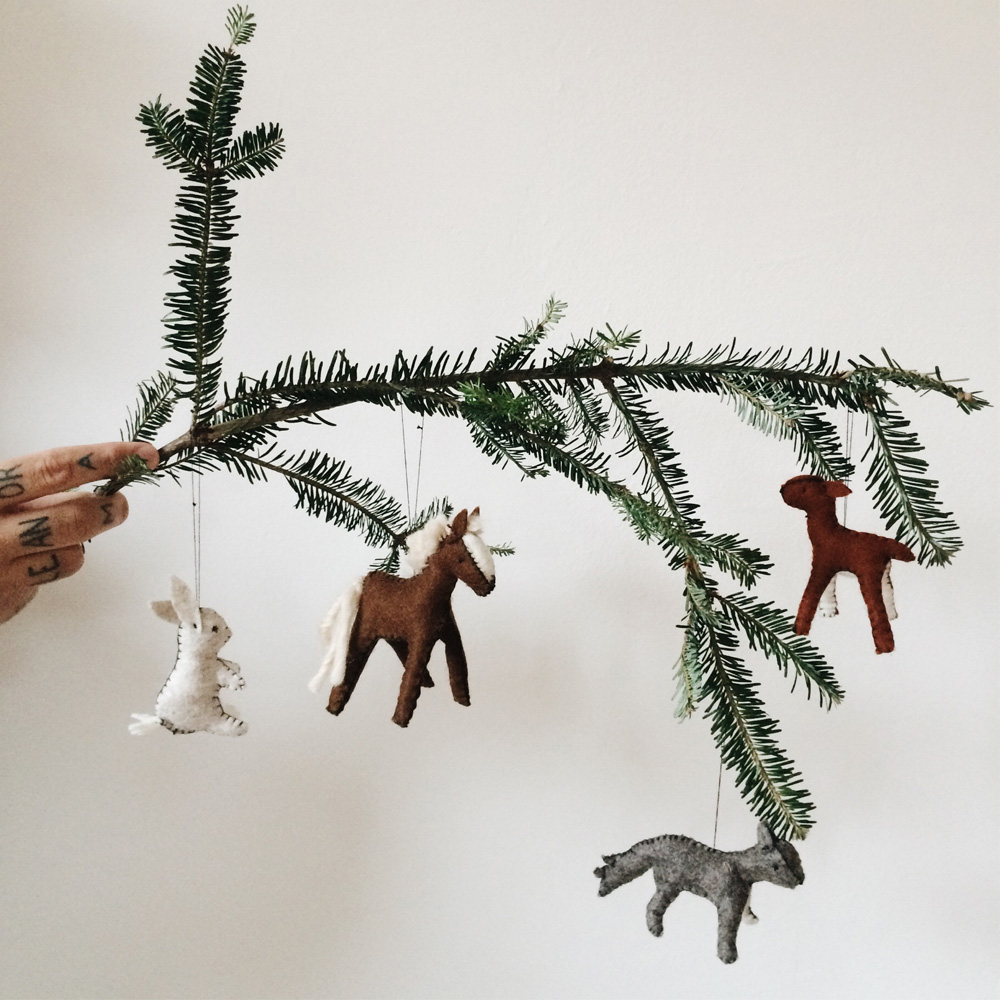
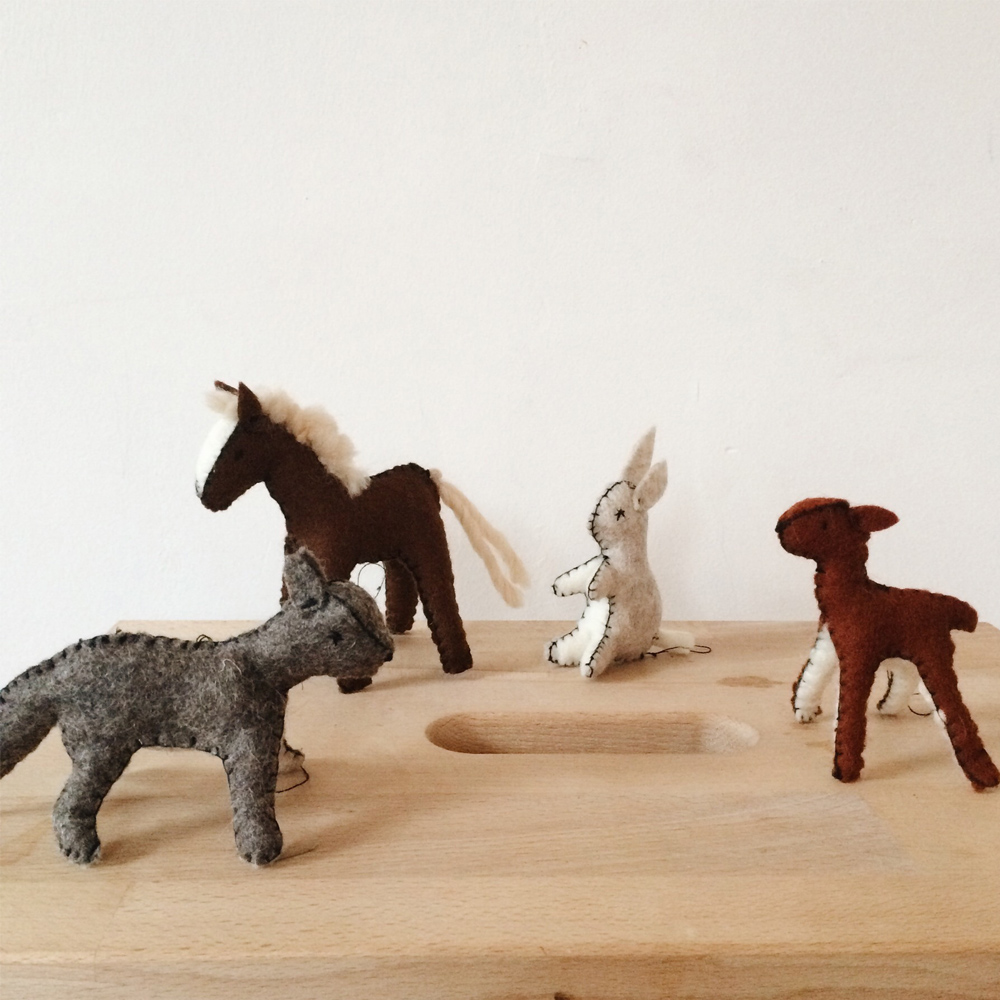
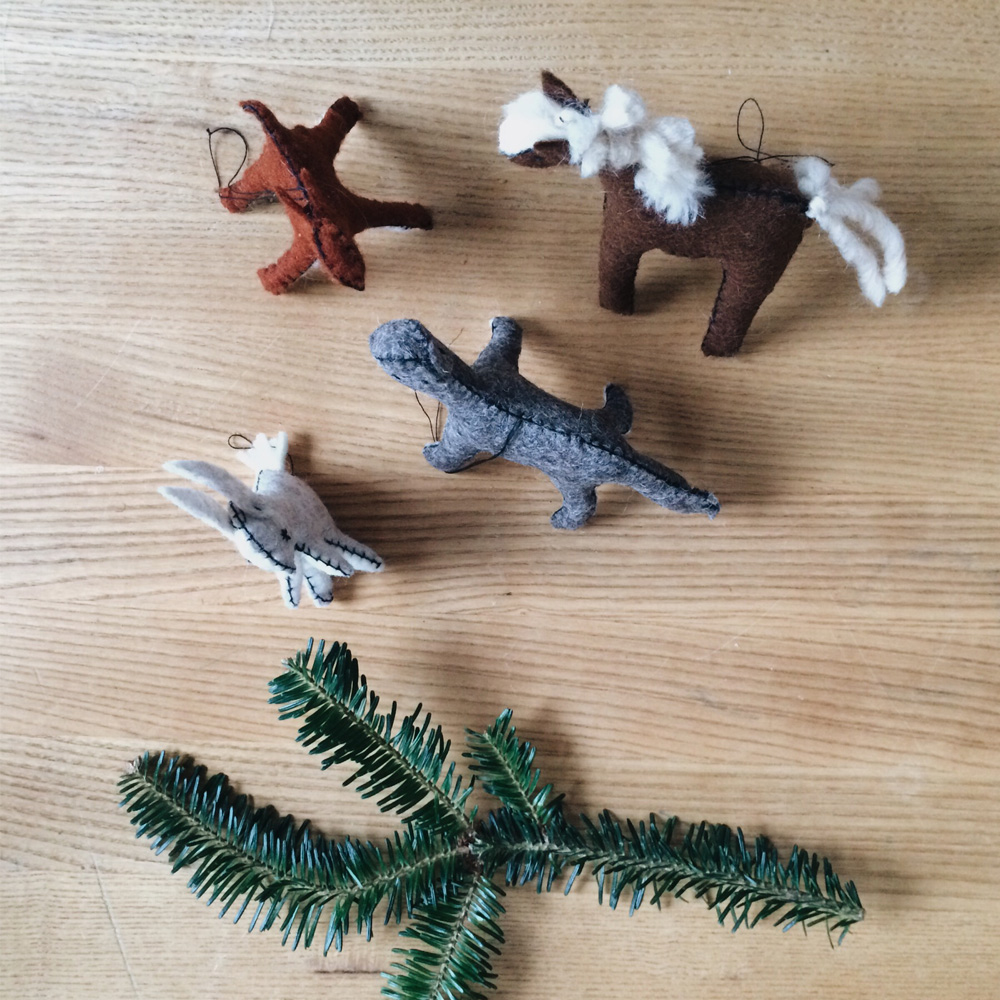
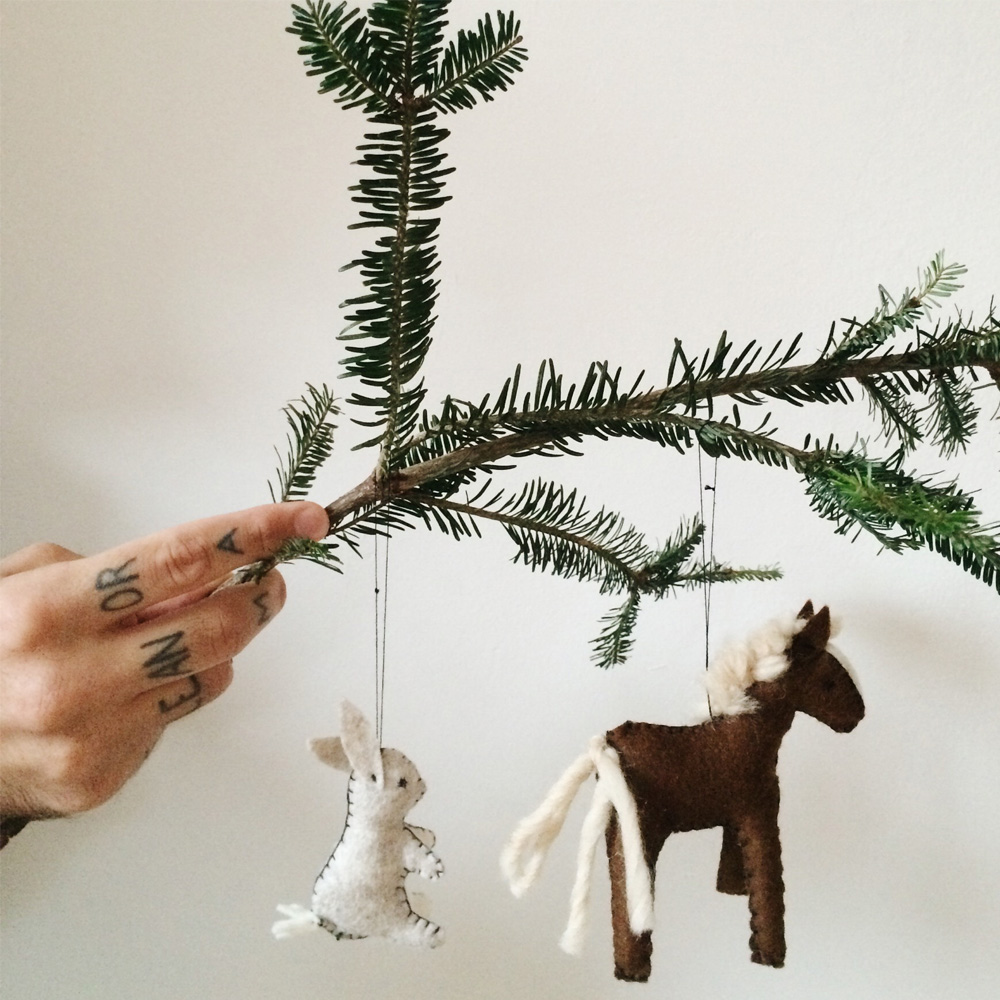
Since both girls are huge animal-lovers, I made a wolf, a deer, a horse and a bunny.
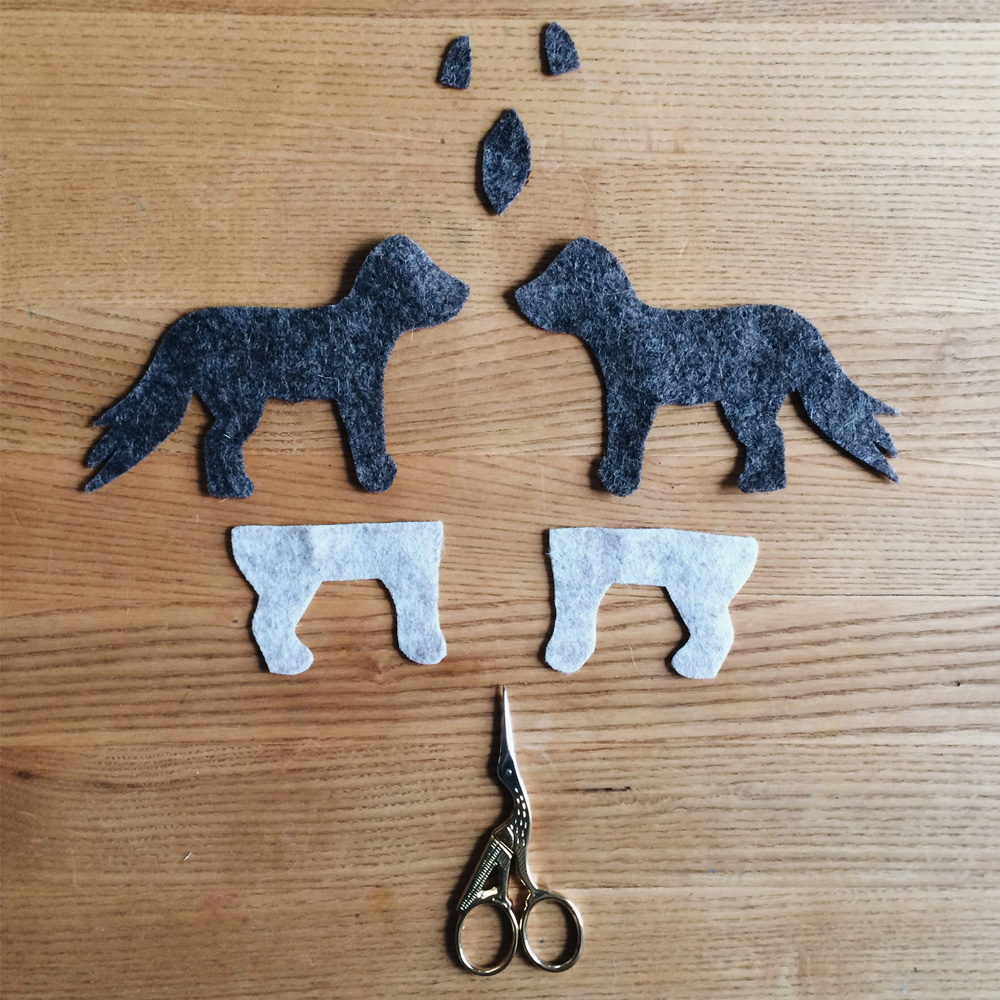
They’re all really easy to do, and if you want to try and make your own deer, just save the picture with the pattern on your desktop and print it out in the size you want your felt animal to be.
This is how you make your own DIY felt animal ornaments:
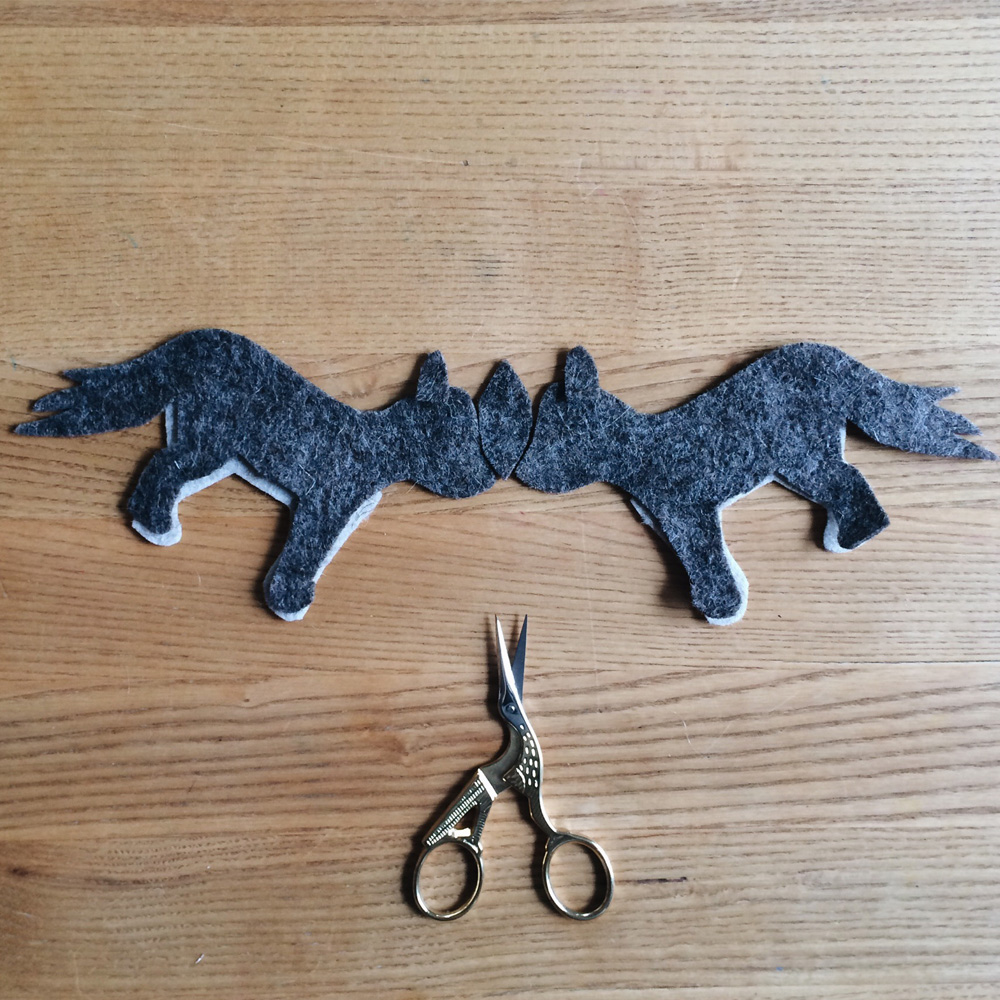
1. Cut out the pieces in your preferred felt color and stitch them together by hand.
2. Start by sewing the two inside legs pieces together. These are the only two pieces I sew together on the backside.
3. Continue by sewing the outside part of the legs. Then you sew the head but leave an opening along the back of the animal.
4. Stuff the animal with wool or some other kind of stuffing, close the opening and finish up by adding the ears and eyes.

so happy to discover your blog .. thank you so much for sharing this tutorial! so inspiring and the perfect activity to add to my winter hibernation list 🙂