For the last few years we have made our own Christmas wrapping paper, and because of all the lovely comments and emails I received after posting this picture of our potato printed wrapping paper diy session on Sunday, I decided to do a very quick wrapping paper DIY.
It’s easy, doesn’t require a lot of equipment and is a great way to pass a bit of time on those long last days before Christmas.

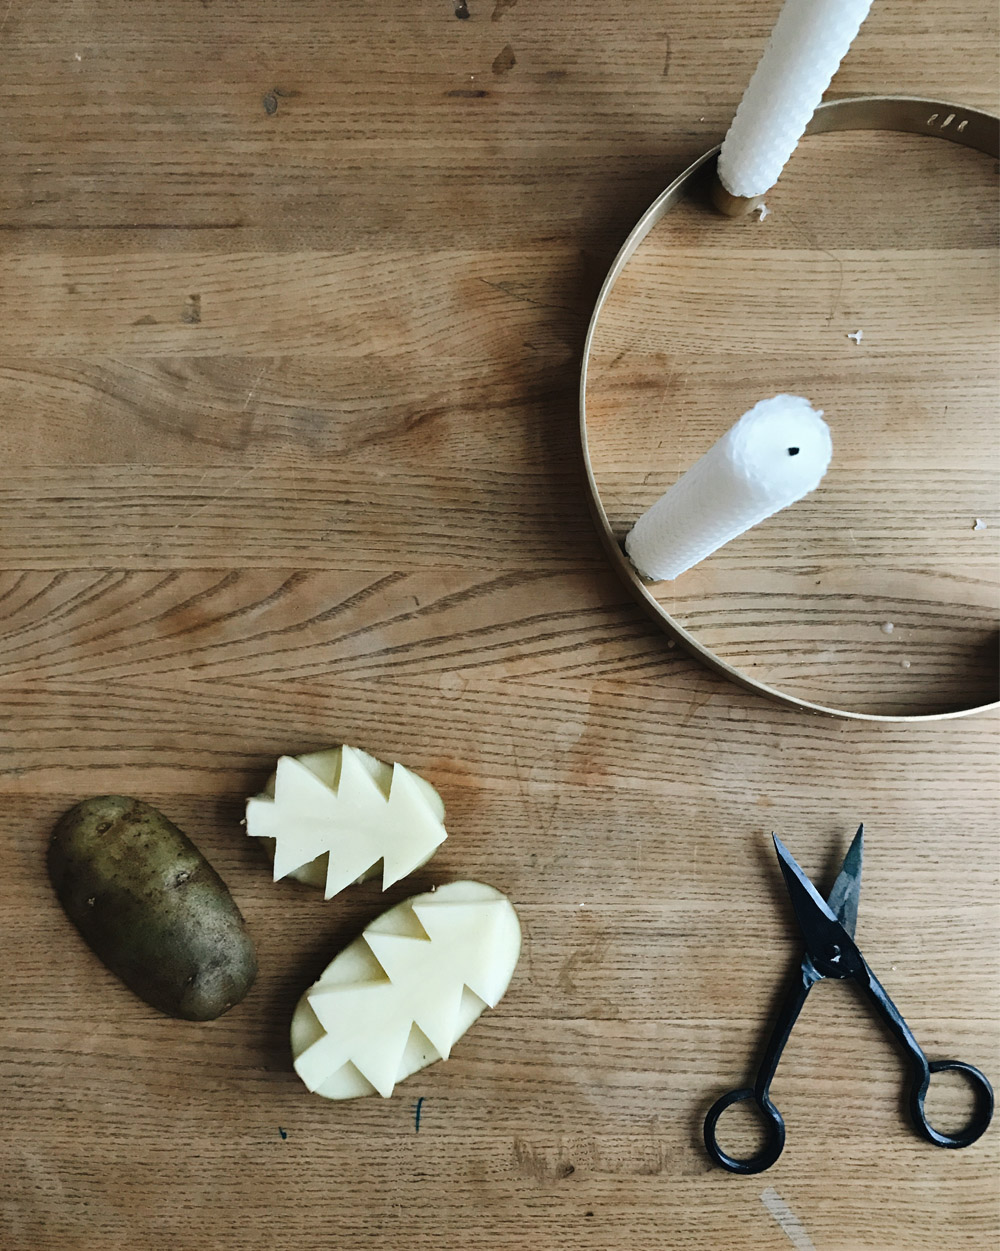
All we used was a role of plain white wrapping paper, two big potatoes, a knife and some paint.
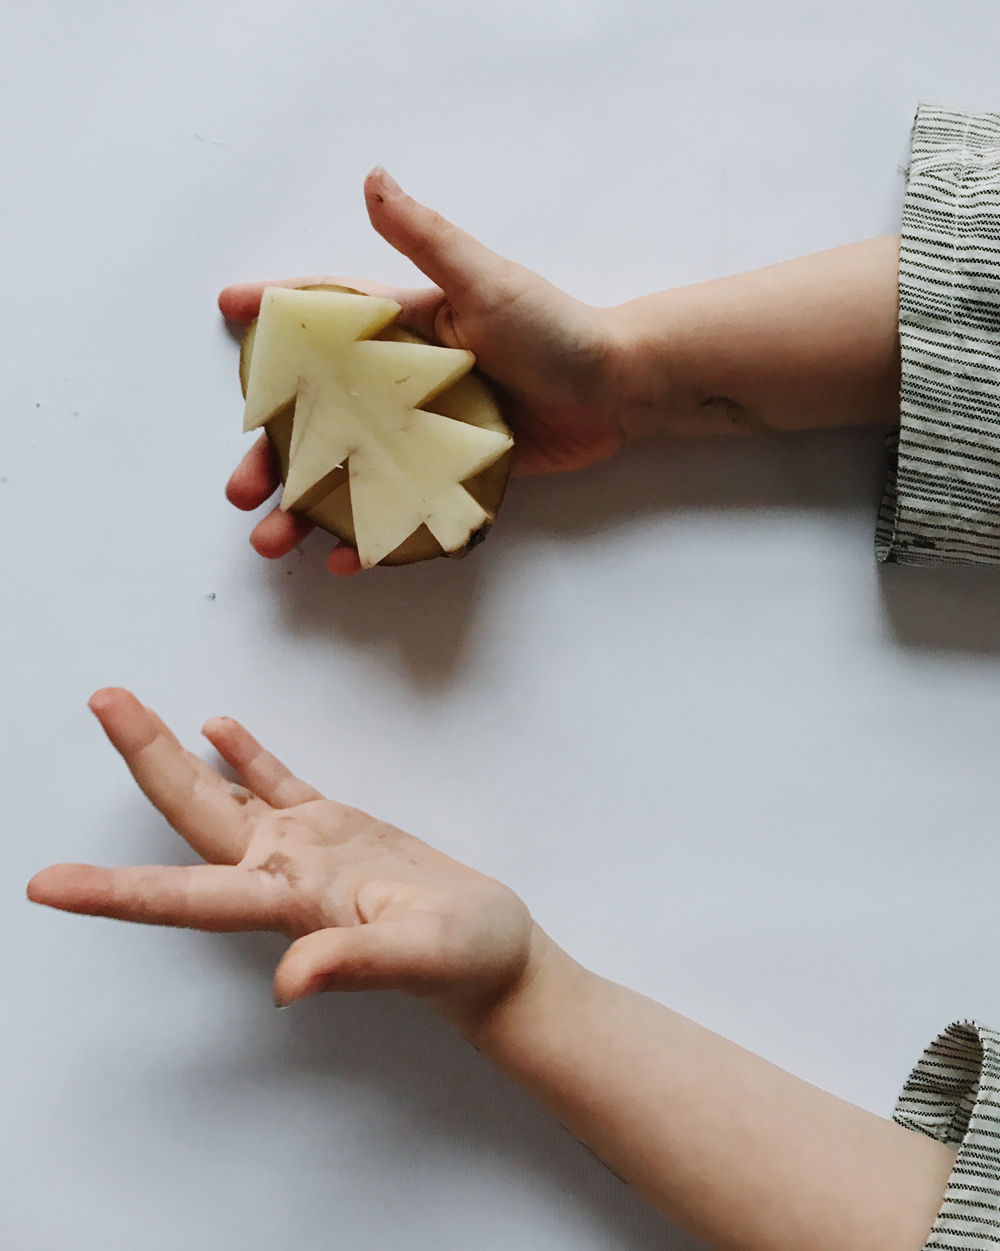
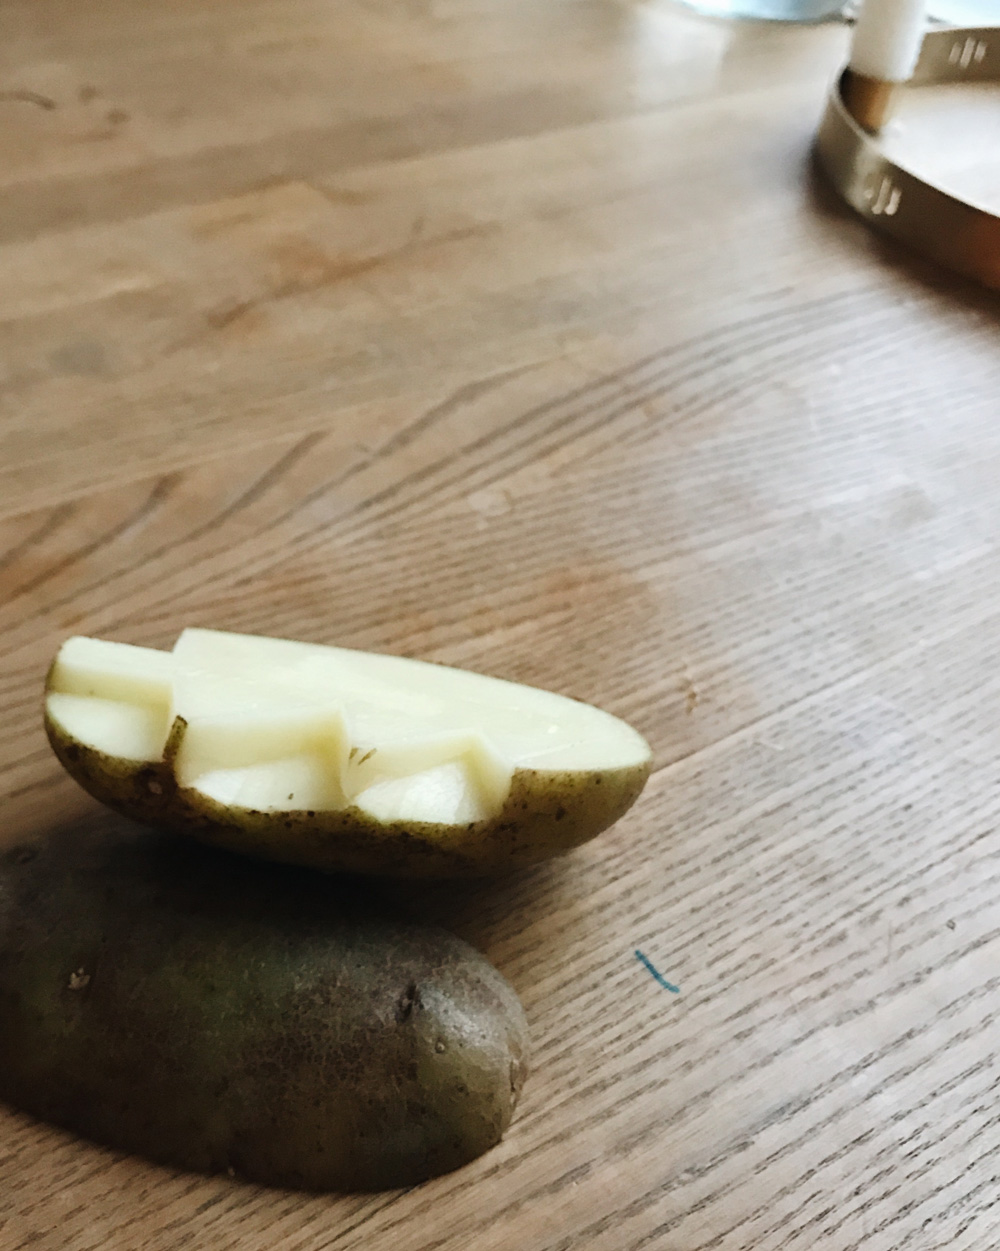
Potato printing is fun and easy and you decide yourself if you want to make the print shapes with a knife or a cookie cutter. First you cut the potato in half. If you’re using a knife, gently cut out the shape you want on the inside of one of the halves, making sure not to cut all the way through the potato (see picture below). If you choose to use a cookie cutter, push the cookie cutter half way through your half side of potato, cut around it and pull out the cutter.
Wipe your potato stamp with a piece of kitchen towel to make sure it’s not too wet, dip it in paint and start printing.