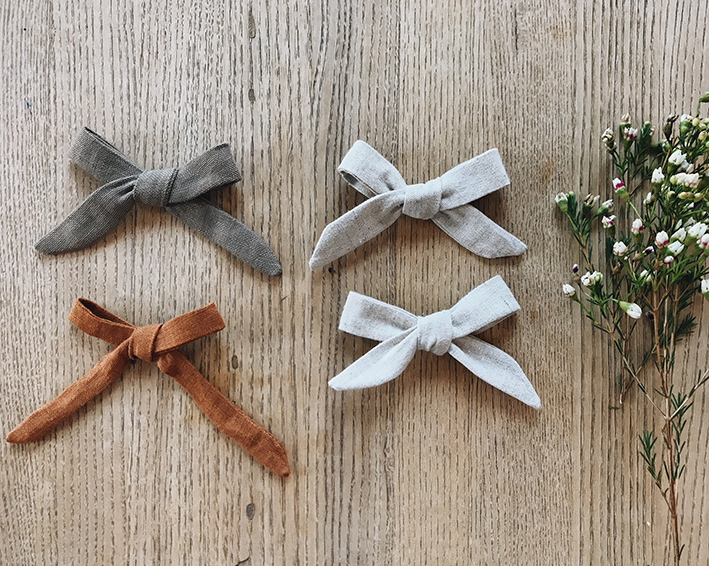
Do you know those days where your child is too ill to go to school but too good to be sleeping all day? My eldest is having one of those days today and instead of just handing her the iPad we decided to do some crafting together. My 5-year-old loves to wear hair bows at the moment and since she’s the only one who didn’t get to stay home today, we decided to surprise her with a few new ones. And since we were at it, we did a little DIY hair bow tutorial for you, dear readers, as well.
What you need;
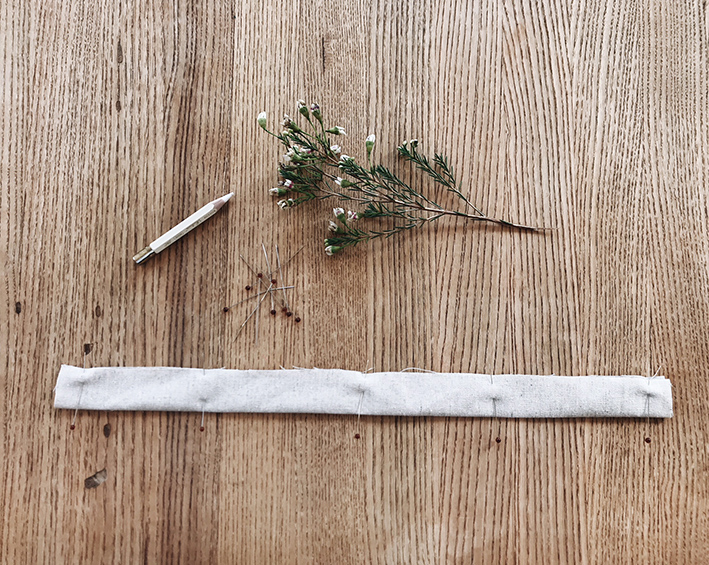
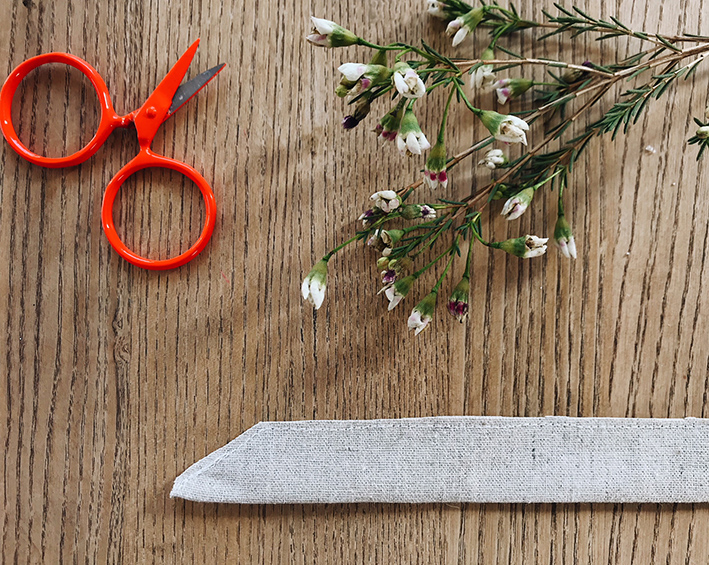
A piece of fabric in a rectangle shape 2 inches x 13 inches or 5 cm x 33 cm.
A hair clip.
A sewing machine or a needle and a thread.
1. Make sure your fabric is as close to an rectangle as possible.

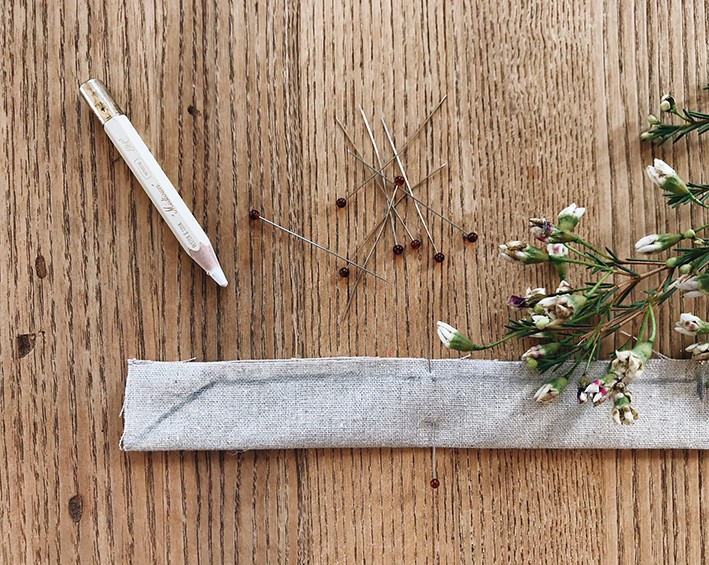
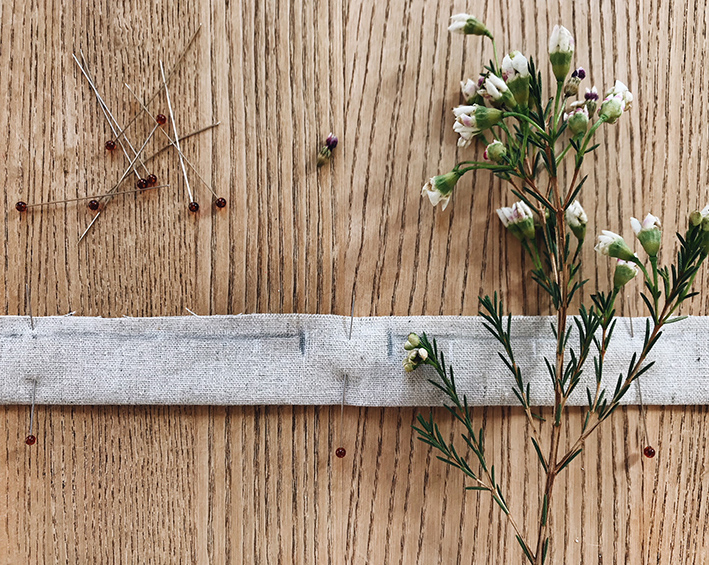
2. Fold the fabric in half, with the right sides together and pin in place.
3. Sew along the side and angle the fabric to create a pointed tips. leave an opening in the middle.
4. Trim down the seam allowance, but be careful to leave the full seam allowance around the opening.
5. Turn the bow right side out. Use a paint brush or a pencil, but be careful not to make any holes in the fabric.
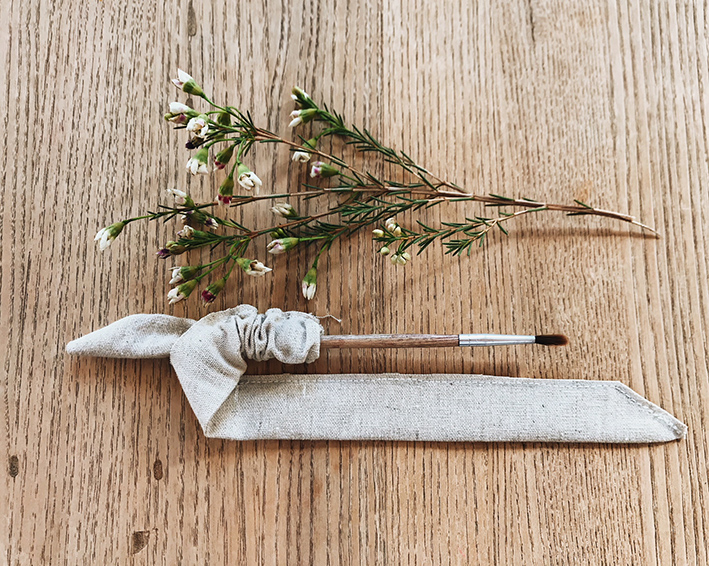
6. Press the bow with a hot iron.
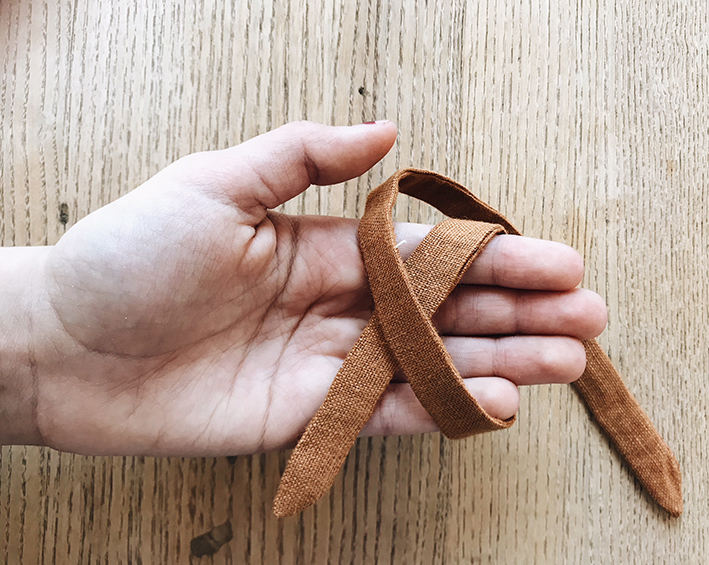
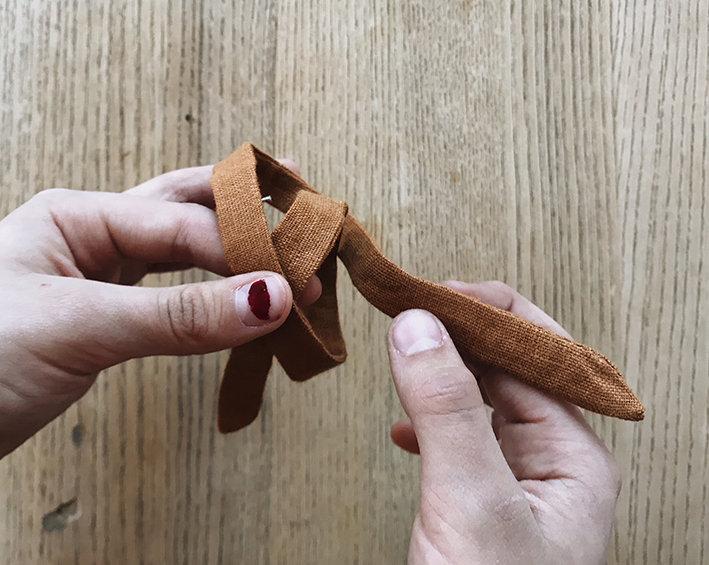
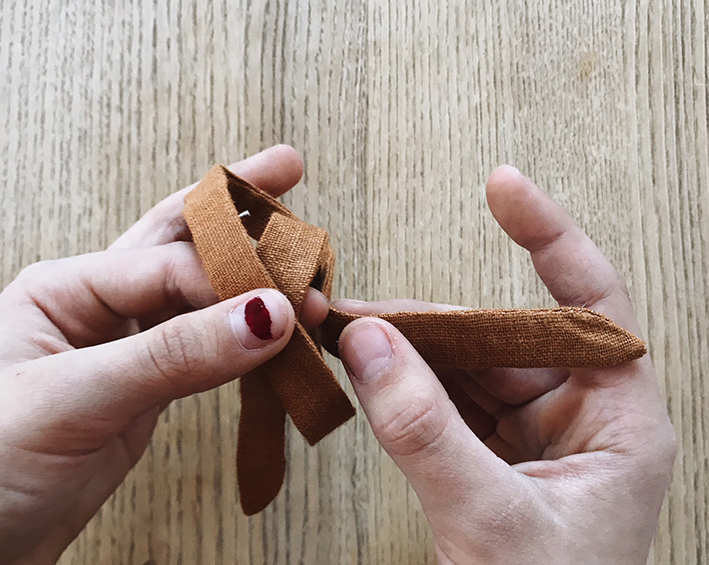
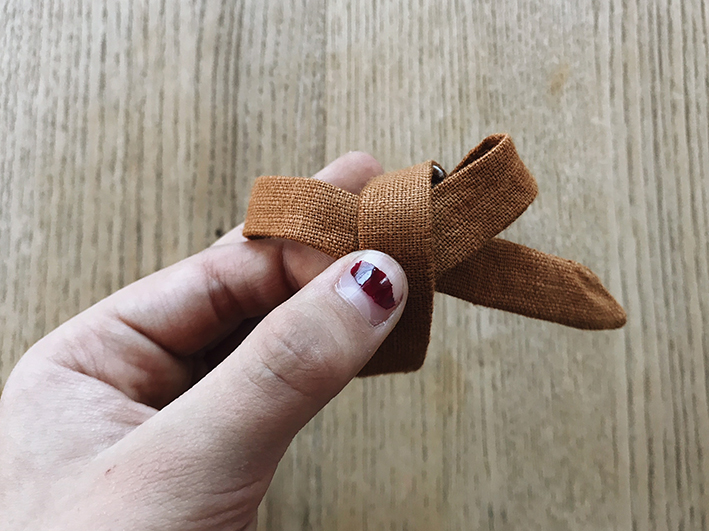
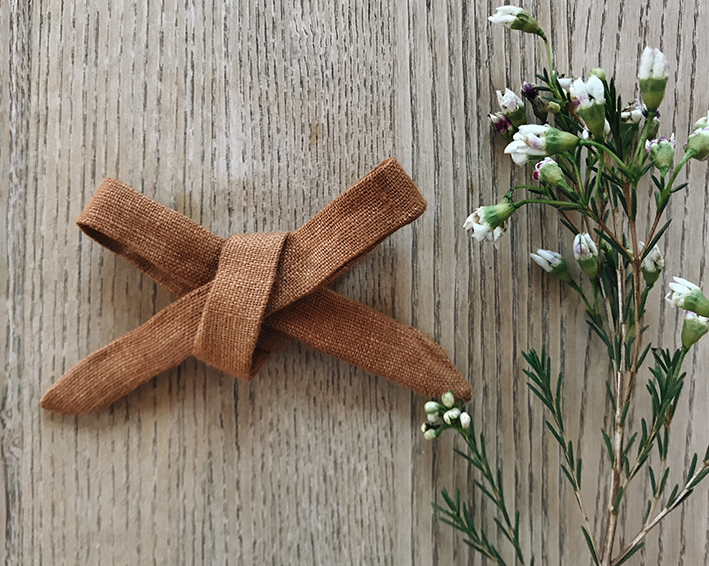
7. Tie the bow. This is in my opinion the most difficult part, and it will probably take a few tries before you get it perfect. Don’t give up, when you get it, its easy.
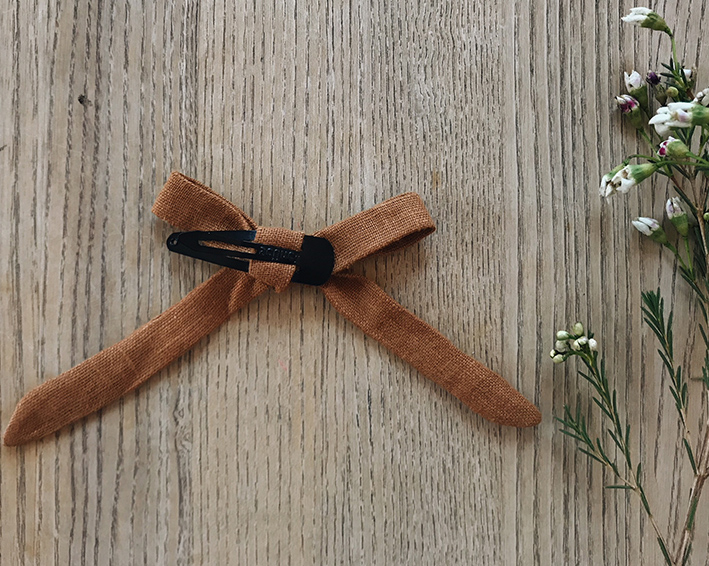
8. Slip the hair clip into the bow or glue it on with a glue gun, and you’re done.
Easy peasy, beautiful! Now I’m off to see if I have any scrap fabric tucked away somewhere.
It really is the easiest thing to make! Hope you’ll have fun doing it.
xx
Kat